
Boob Lights:
Hey Remodelaholics! I’m just gonna dive right in and let you know that this post may make some of us feel a bit awkward. So, sorry in advance. But we’re talking about boobs today on Remodelaholic. Specifically, boob lights. (Because, yeah, you’re not the only one that calls those basic flushmount lights by, er, that name.) And I’m gonna give you A PAIR of knockers knockout, five minute, zero tool methods to help you banish the ceiling cleavage in your home. PSA before we go any further…please know that I am not anti-boob. Breasts are very useful and brilliantly designed anatomical features. I just don’t want my home to be illuminated by them.
Alright guys, let’s get down to business.
Preparation:
Remove the glass shade from your fixture. Typically, this will be done by unscrewing the shade from three little screws on the side of the fixture, or, alternatively, one screw at the bottom of the shade. If your boob light unscrews at the bottom, you *may* have to drill three little holes (use a very small bit) into the side of your fixture in order to use this technique (only if your fixture does not have these holes). 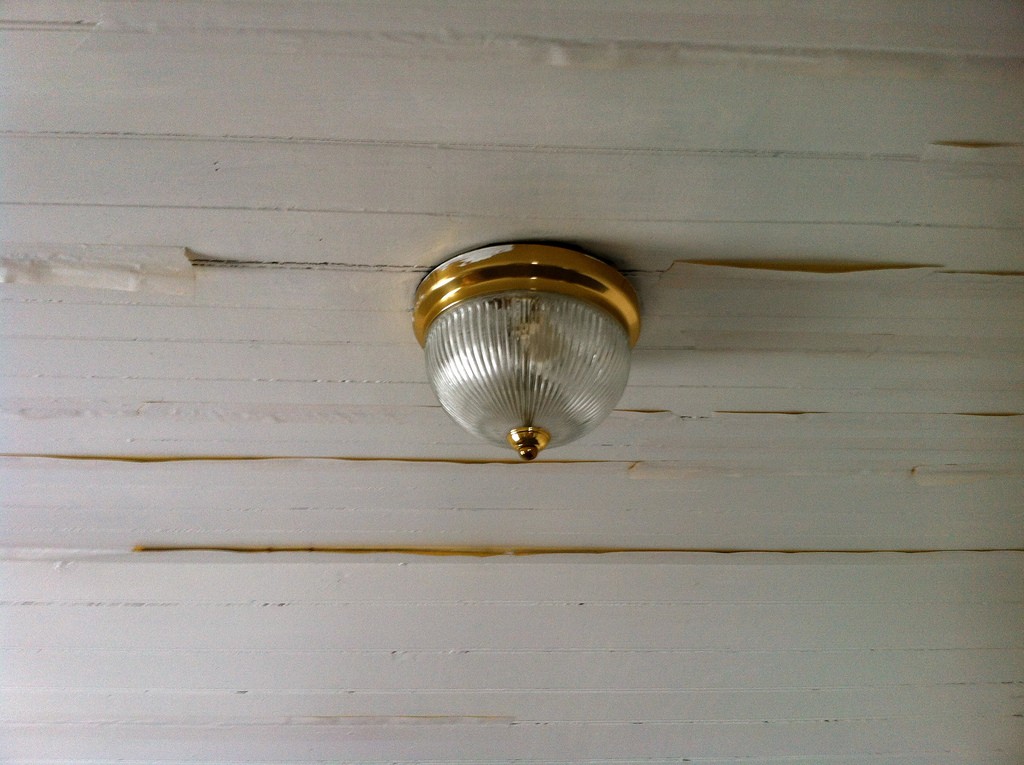
If you LIKE the finish of your fixture, you’re ready to rock and roll. If you DON’T like the finish, then you’ll need to uninstall the fixture (this requires some knowledge about electricity…please don’t DIY unless you’re sure you can be safe) in order to spray paint it. As you can see, our boob fixture needed some help. We spray painted ours with Rust-oleum’s metallic spray paint in Gold.
Once you are happy with the finish/your paint has dried, re-install the fixture.
Now, choose your own adventure…remember those books? Are you going to use a drum shade or a capiz shell shade?? Decisions, decisions. Let’s start with the drum shade option.
It’s really the same technique as above, but slightly easier because the capiz shade will have a round (usually) metal rim at the top, and you can affix your zip ties anywhere you need.
How-To Hang Drum Shade:
It doesn’t matter if your fixture is installed yet or not. The installation will work EITHER way, just fine. For clearer pictures, I’m just doing it this way.
- Align (roughly) the arms of your drum shade with those holes (where you removed your glass, or where you’ve drilled) on the fixture. If it doesn’t line up exactly, no problem…you can adjust the zip ties to allow the shade to hang correctly.
- Zip tie through a hole, and around an arm of your shade. Secure loosely. Repeat for each hole in your fixture.
- Once your zip ties are in place, make sure the shade hangs level. You can alter how it hangs by tightening your zip ties.
- Now that your shade hangs level, snip off the excess tie material. DONE!
Below is an image of installation of the shade with the fixture already mounted.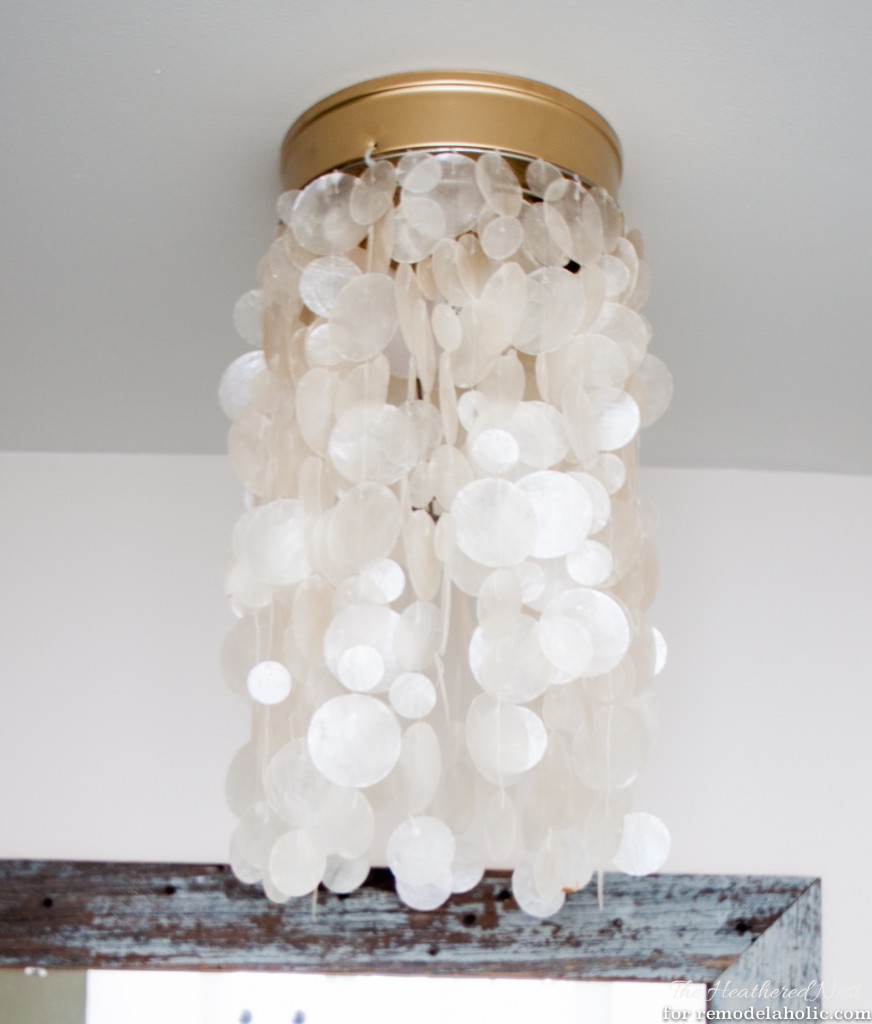
Me? I’m terribly lazy. And luckily I had my capiz already. It was bought for my first child’s nursery, and had been tucked away in the garage for years. But you can find these for a fairly decent price here and there…especially if you search for a capiz windchime, instead of a light fixture!
The only problem with this project is that after you dismantle those boob lights, you have a perfectly good glass shade leftover! So, I’ve racked (get it? Again with the jokes) my brain, and come up with two possible solutions for you.